Transfer Files from iPhone to iPad Using AirDrop
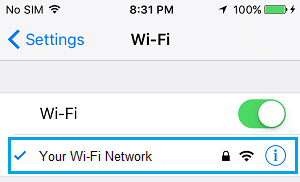
The AirDrop feature on iPhone makes use of Bluetooth technology to locate nearby devices and WiFi Network to transfer data between two Apple devices. Hence, the first step is to make sure that Bluetooth is enabled on your iPhone and iPad and both devices are connected to the same WiFi Network. On both devices, go to Settings > WiFi > make sure WiFi is enabled and both devices are connected to the same WiFi Network.
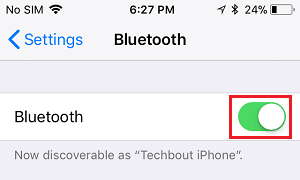
Similarly, go to Settings > Bluetooth > make sure Bluetooth toggle is set to ON position.
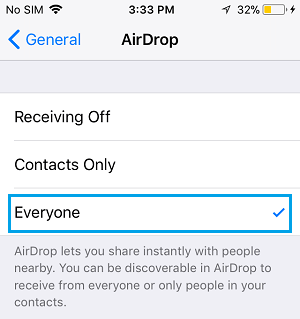
After enabling WiFi and Bluetooth, you will have to make sure that both devices are properly setup to receive files using AirDrop. On both devices, go to Settings > General > Airdrop > On the next screen, select Everyone option.
This will ensure that both iPhone and iPad are properly setup to receive files using AirDrop.
AirDrop Files, Photos, Videos from iPhone to iPad
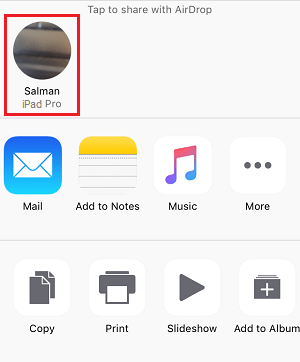
Once the AirDrop feature is setup on both devices, you can follow the steps below to transfer Photos, Videos and Files from iPhone to iPad. On your iPhone, open the Photos App and select photos that you want to transfer to iPad. After selecting Photos, tap on the Share icon located at bottom-left corner of your screen.
On the Share Menu that appears, select the Device (iPad) to which you want to transfer Photos.
On your iPad, you will be prompted to confirm whether or not you want to Accept the files. select the Accept option. Once, you tap on Accept, you will see immediately see Photos from iPhone appearing on your iPad.
How to AirDrop From iPhone to Mac How to Fix AirDrop Not Working on iPhone
![]()